Growing Nepenthes from seed is both a botanical challenge and a deeply rewarding experience. These tropical jewels of the plant kingdom, known for their exotic pitcher traps and carnivorous habits, have captivated collectors and rare plant enthusiasts around the world. But the secret to successful germination begins even before sowing: it lies in the careful preparation of the substrate and the use of fresh seeds.
In this complete guide, you’ll learn how to plant Nepenthes seeds using sterilized sphagnum moss, creating a clean, humid, and stable environment — ideal for watching these fascinating plants come to life.
Why grow Nepenthes from seed?
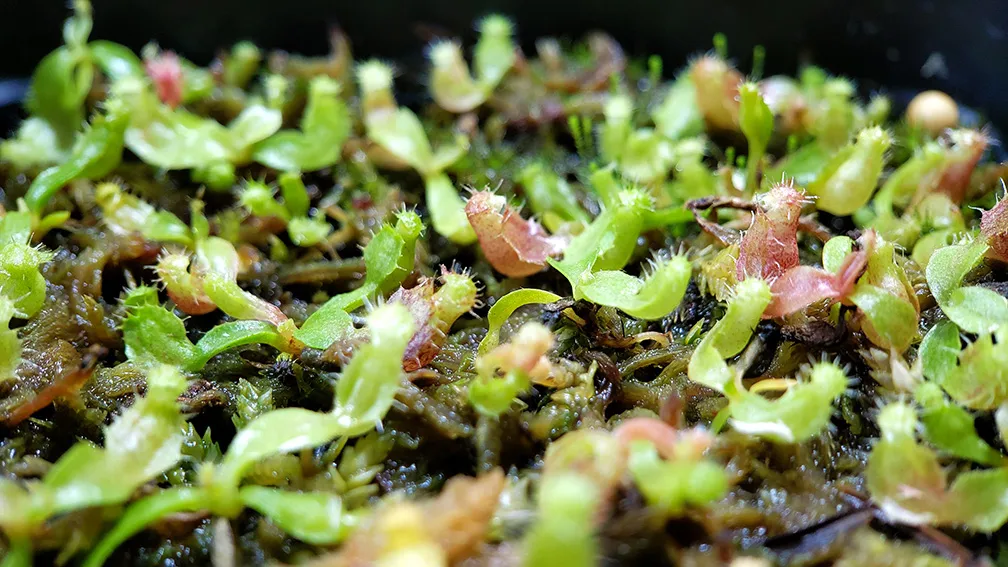
Starting Nepenthes from seed allows you to witness each phase of the plant’s development — from the first tiny leaves to the formation of functional carnivorous pitchers. For botanical enthusiasts, it’s an immersive and educational journey.
However, it is crucial to understand that the success of germination is directly linked to seed quality. Fresh seeds, collected and stored properly within two weeks, have significantly higher germination rates. Older seeds may germinate slowly, weakly, or not at all.
Whenever possible, record the following:
- Date of seed harvest (if available)
- Date of sowing
- Estimated and actual germination dates
Tracking this data will help evaluate your methods and improve future attempts. Also, growing from seed promotes greater genetic diversity, which can result in unique plants with varied pitcher shapes and colors — a major appeal for collectors and hybridizers.
Choosing the right substrate
The most commonly used and recommended substrate for Nepenthes seed germination is sterilized sphagnum moss, but there are several alternative mixes that experienced growers also use:
- 100% sphagnum moss (fresh or dried, always sterilized): excellent water retention and natural acidity.
- Sphagnum + perlite (70/30): improves drainage and aeration.
- Sphagnum + rinsed quartz sand (80/20): helps reduce compaction.
- Well-rinsed coconut fiber + perlite (60/40): more affordable, but requires extra care to avoid contamination.
Avoid using regular potting soil, compost, orchid mix, or any fertilized substrates. These materials are nutrient-rich and encourage the growth of fungi, algae, and bacteria — all of which are harmful to fragile seeds.
Step 1: Washing and disinfecting the sphagnum
Begin by rinsing the moss thoroughly under running water to remove debris and dust. Then:
- Place the moss in a bowl filled with clean water and add 10% pure bleach (unscented, no additives).
- Let the moss soak in this solution for 12 to 24 hours.
- Rinse repeatedly with clean water until the bleach smell is completely gone.
Step 2: Shredding the moss
Use clean scissors or a blender to chop or shred the moss lightly. This:
- Makes the moss easier to level in the container
- Facilitates later separation of seedlings
Don’t over-pulverize or compress it. A loose, airy texture is essential for healthy root development and gas exchange.
Step 3: Sterilizing by boiling
To ensure a contaminant-free medium:
- Place the shredded moss in a pot with clean water.
- Boil for 10 minutes.
- Let it cool naturally, ideally with the lid on to prevent airborne contamination.
Step 4: Preparing the germination container

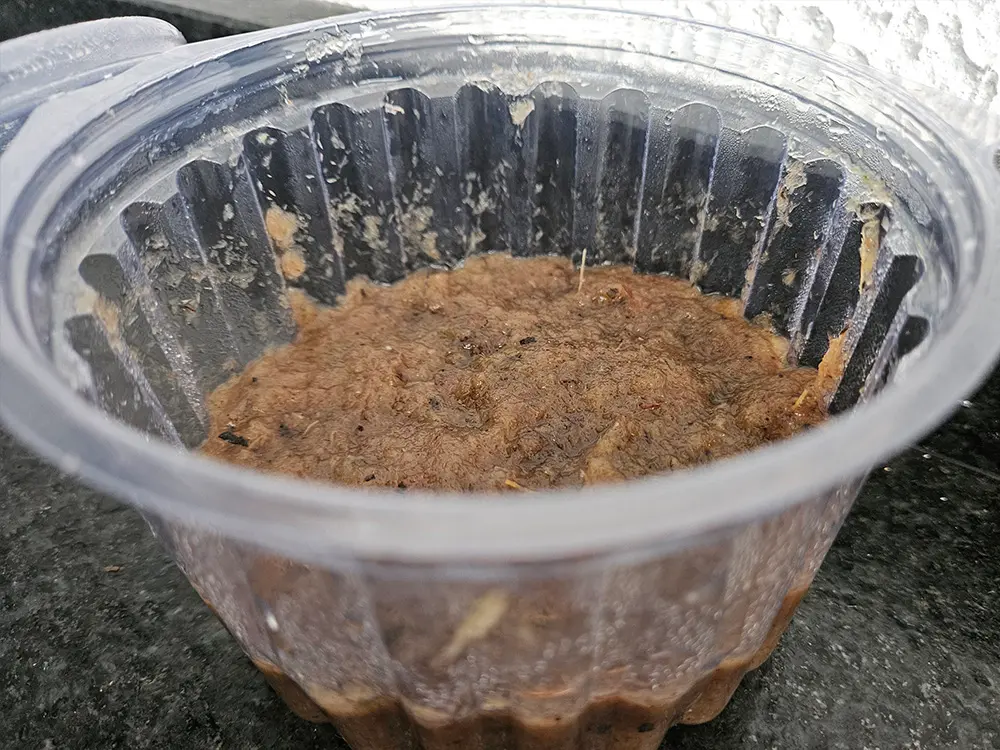
Choose a clear container with a transparent lid, such as a rigid plastic tub or recycled glass jar. It should allow diffused light while protecting against airflow and contamination.
- Add a layer of about three-quarters of an inch of sterilized moss.
- Gently level it using a clean spoon or your fingers (washed and dried).
Avoid pressing too hard. The moss should remain soft and breathable.
Step 5: Placing the Nepenthes seeds
This is a delicate step. Follow these guidelines:
- Use sterilized tweezers or a toothpick
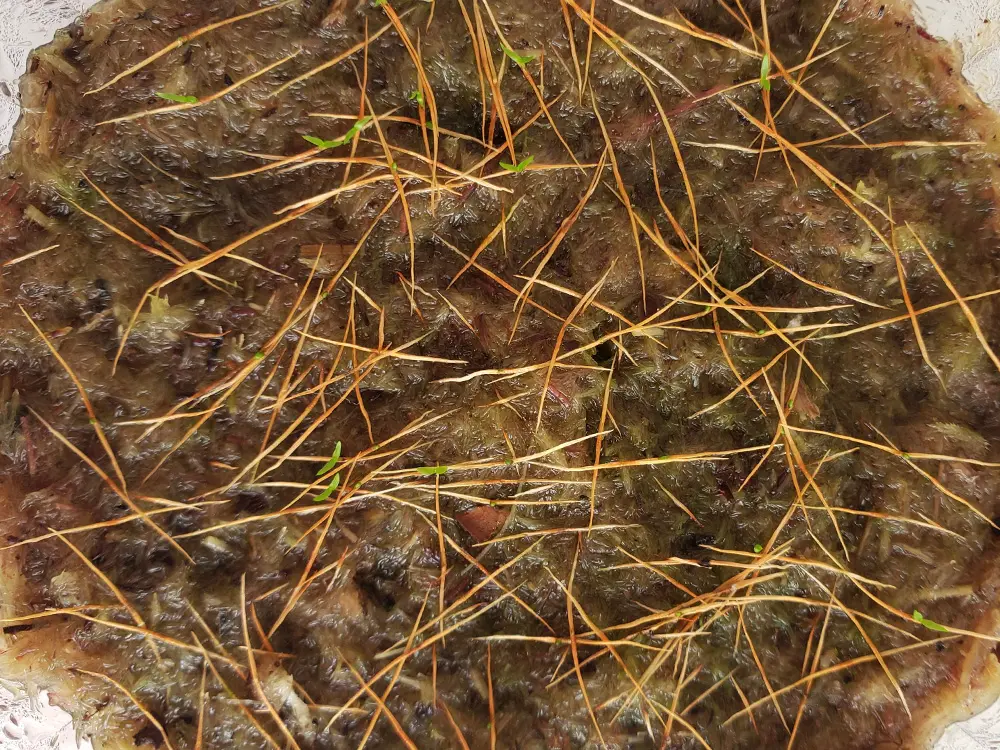
- Do not bury the seeds — simply lay them on top of the moss
- Space them out to avoid clumping
Avoid handling seeds with bare fingers, as skin oils can reduce viability.
Step 6: Humidifying and sealing the container
Lightly mist the surface with distilled or pre-boiled water (cooled). Then:
- Puncture small holes in the lid using a heated pin or sharp tool.
- Seal the container with the lid.
These holes help balance internal humidity while allowing limited gas exchange.
Step 7: Light and temperature conditions
Place the container in a location with:
- Bright indirect light (near a window or under white LED grow lights)
- Stable temperatures between 73°F and 82°F (23°C to 28°C)
- No direct sunlight, which can overheat and kill the seeds
Avoid drafts and sudden temperature changes. Consistency is key.
Step 8: Monitoring and patience

Nepenthes seeds can germinate in as little as 20 days, but many species may take up to 6 months or more.
Watch for:
- Mold: treat with a diluted seed-safe fungicide if needed
- Low humidity: mist again with sterilized water
- Condensation on the inner walls: this is a good sign of proper humidity
Where to buy Nepenthes seeds safely
Always source seeds from reputable growers or carnivorous plant nurseries. Trusted websites include Carnivorous Plant Nursery, BCP (Best Carnivorous Plants), or highly rated Etsy shops.
How to identify illegal wild collectors:
Be cautious if the seller:
- Fails to list the scientific name
- Doesn’t disclose seed origin or collection date
- Sells rare species in bulk quantities
- Has no business credentials or environmental license
Buying from illegal harvesters may contribute to the extinction of endangered species and destruction of native habitats.
Choose ethical suppliers committed to conservation.
Additional tips
- Label everything with sowing and germination dates
- Don’t open the container unnecessarily
- Never fertilize seeds
- Wait for 3–4 true leaves before transplanting
- Use waterproof labels or permanent markers
Conclusion
Planting Nepenthes seeds is an act of patience and botanical wonder. With the right conditions and care, you’ll witness one of nature’s most captivating life cycles unfold.
